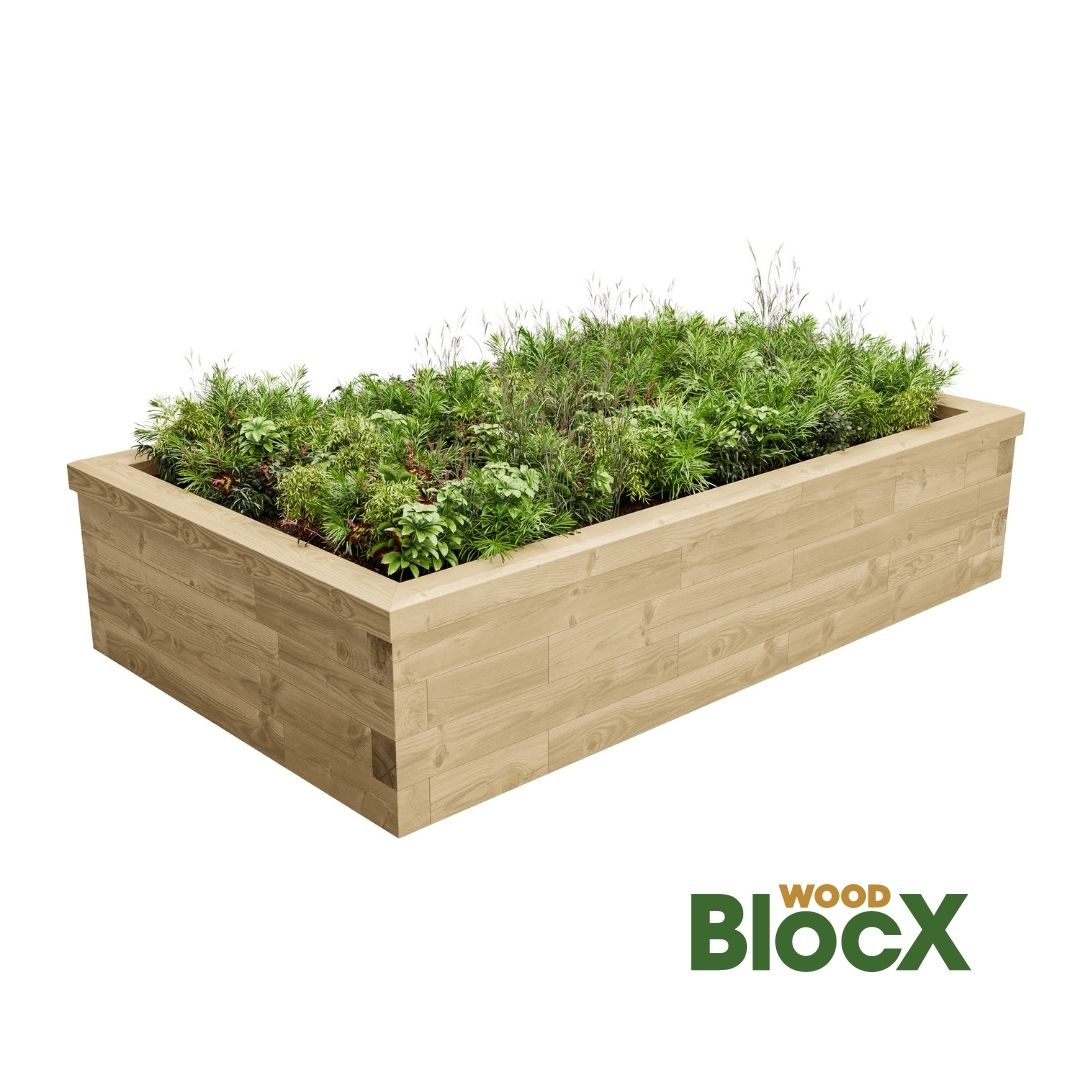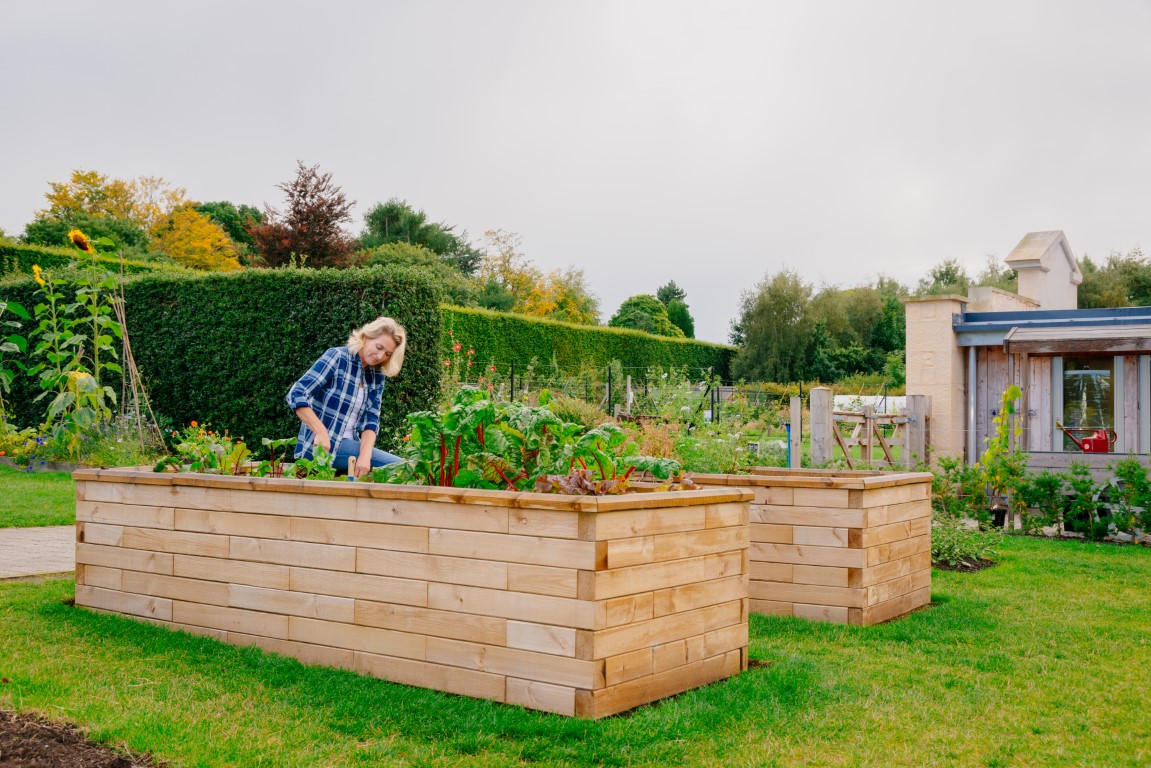
WoodBlocX is where your next garden update begins, our slot together raised beds are quick and easy to build, saving you time and effort. Each kit can be designed to fit your garden perfectly, thanks to WoodBlocX being a modular timber system.
Our raised bed kits are different to every other type available (including railway sleepers), in fact they are totally unique. WoodBlocX is a patented system which is made up of wooden blocks of varying sizes that slot together using strong dowels. Our responsibly-sourced wood is pre-drilled and then treated to ensure the treatment penetrates 100% of the wood, providing extra strength. This winning combination ensures that your garden bed is durable, resistant to cracking and warping, and is built to last for 15 years or more.
Popular raised bed designs
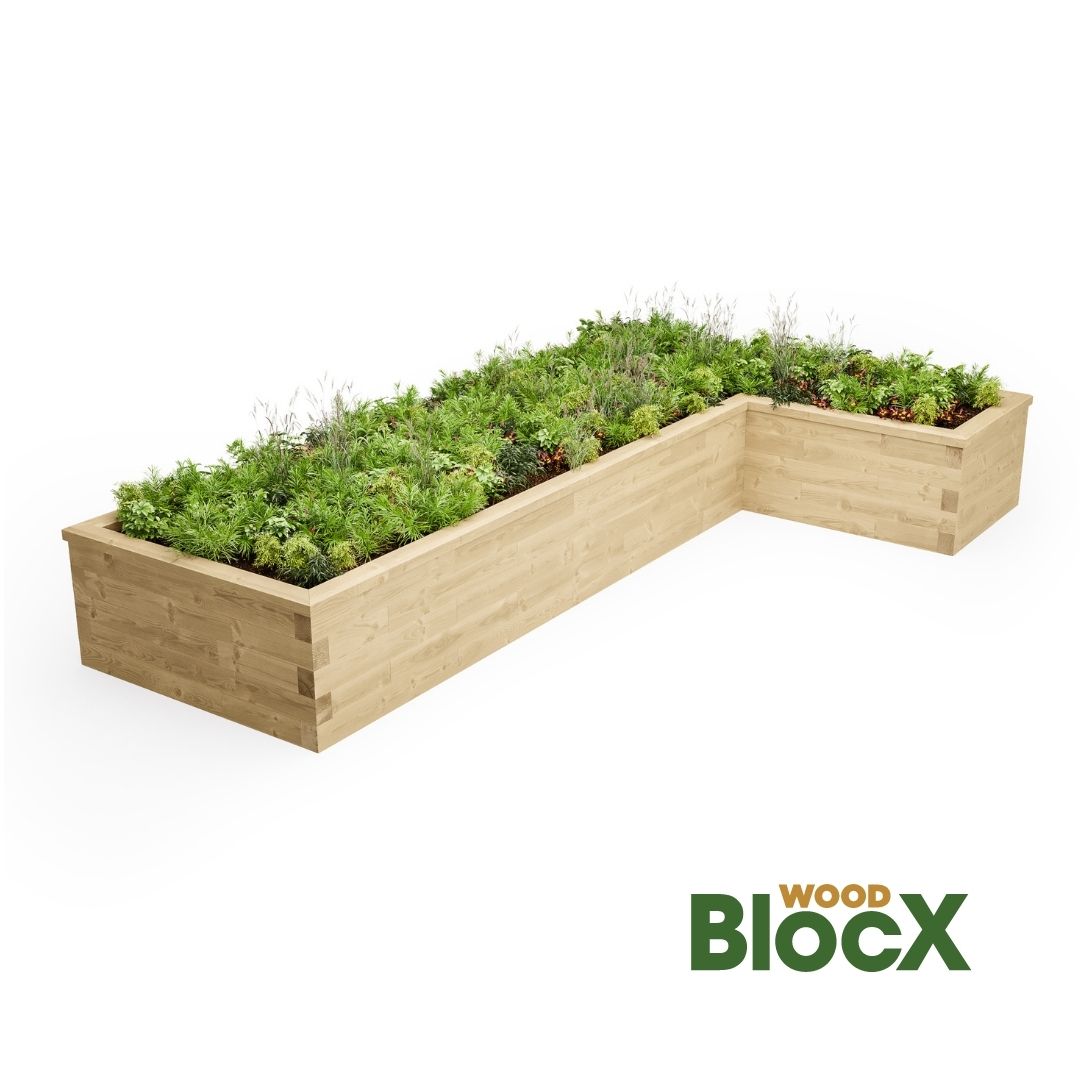
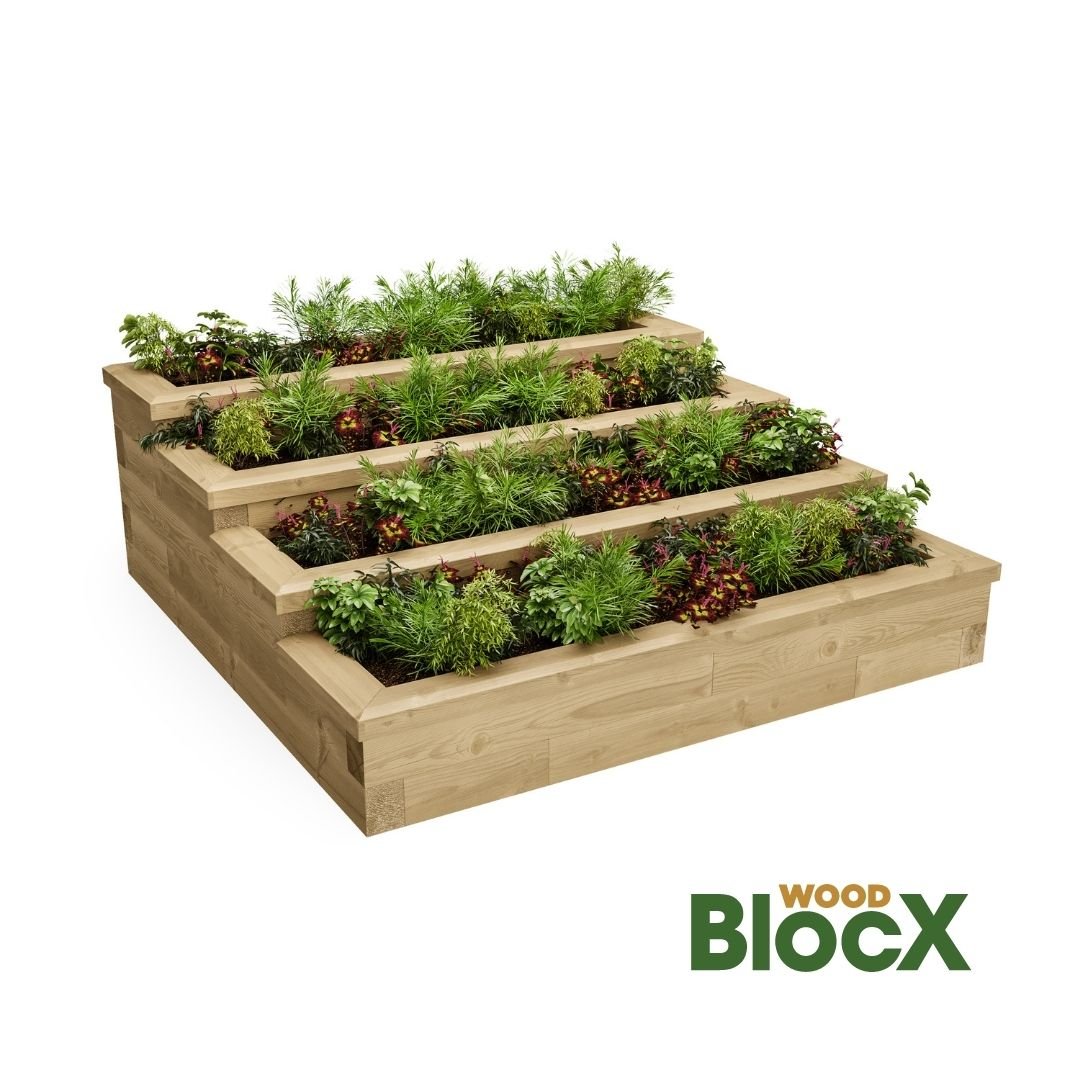
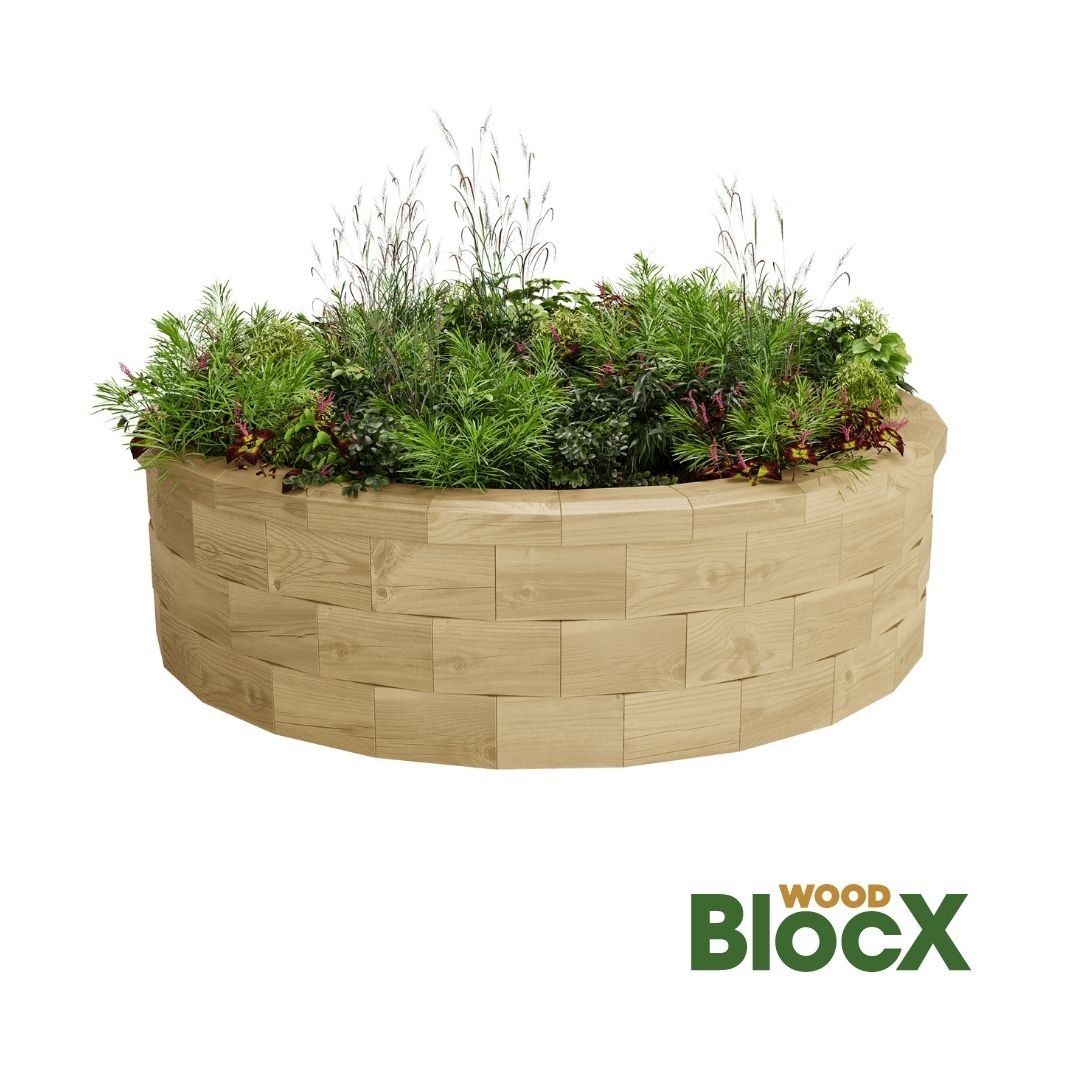
Being modular is not only beneficial in terms of easy building and strength, it also means that our timber raised beds can be designed in all shapes and sizes. We know that every garden is different, that’s why our customers can choose from our bestselling rectangular designs to L-shapes, tiered planters and even circular and curved designs.
Our slot together kits are available in different depths from low to deep, making them ideal for growing salads, vegetables, herbs, flowers and even trees and shrubs in your garden.
Design your dream garden
Transform your garden with one of our pre-designed kits or input your own measurements into our handy raised bed calculator tool. For those designs that you’re not quite sure about or if you’d like to add other elements such as steps, seating or retaining walls to your design, we offer a Free Bespoke Design Service to all of our customers. Our experienced team will work with your measurements and ideas to create a beautiful WoodBlocX design that can transform your garden space.
How to build WoodBlocX
Our slot together raised beds are easy to assemble, read the step-by-step instructions below to find out just how simple it is (or watch our videos). Plus, WoodBlocX can be built on any surface including grass, soil, patios, tarmac or concrete.
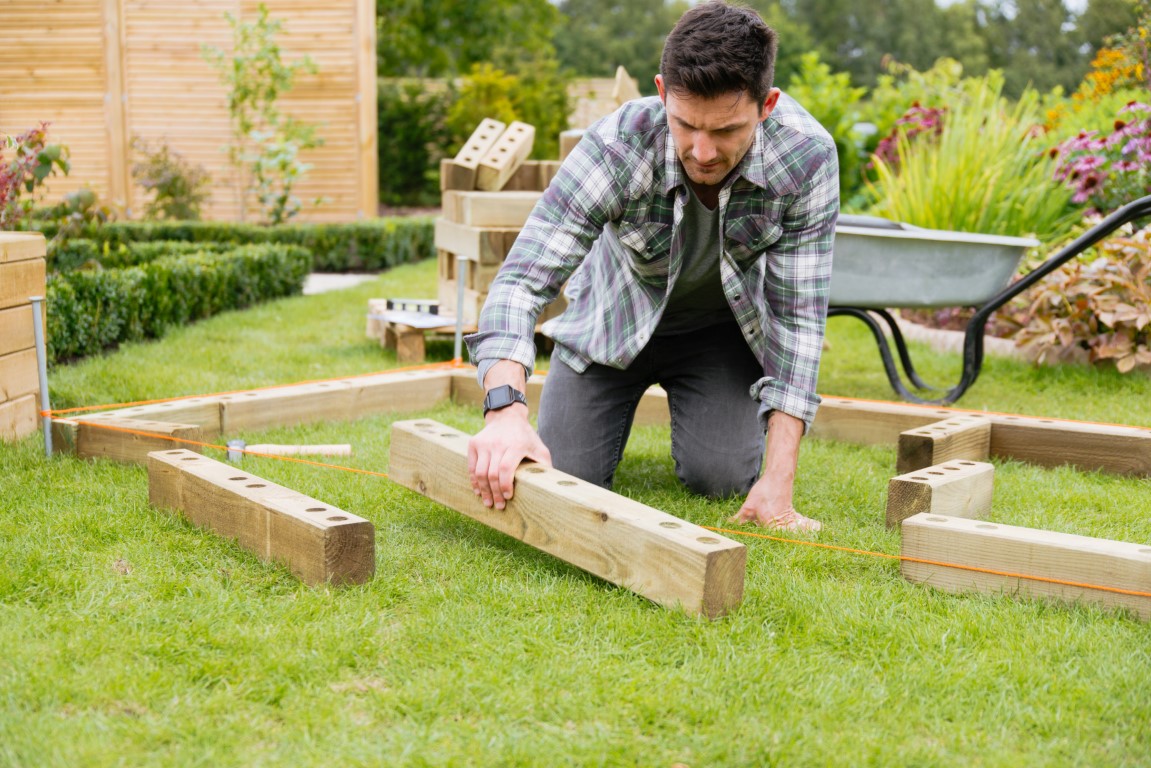
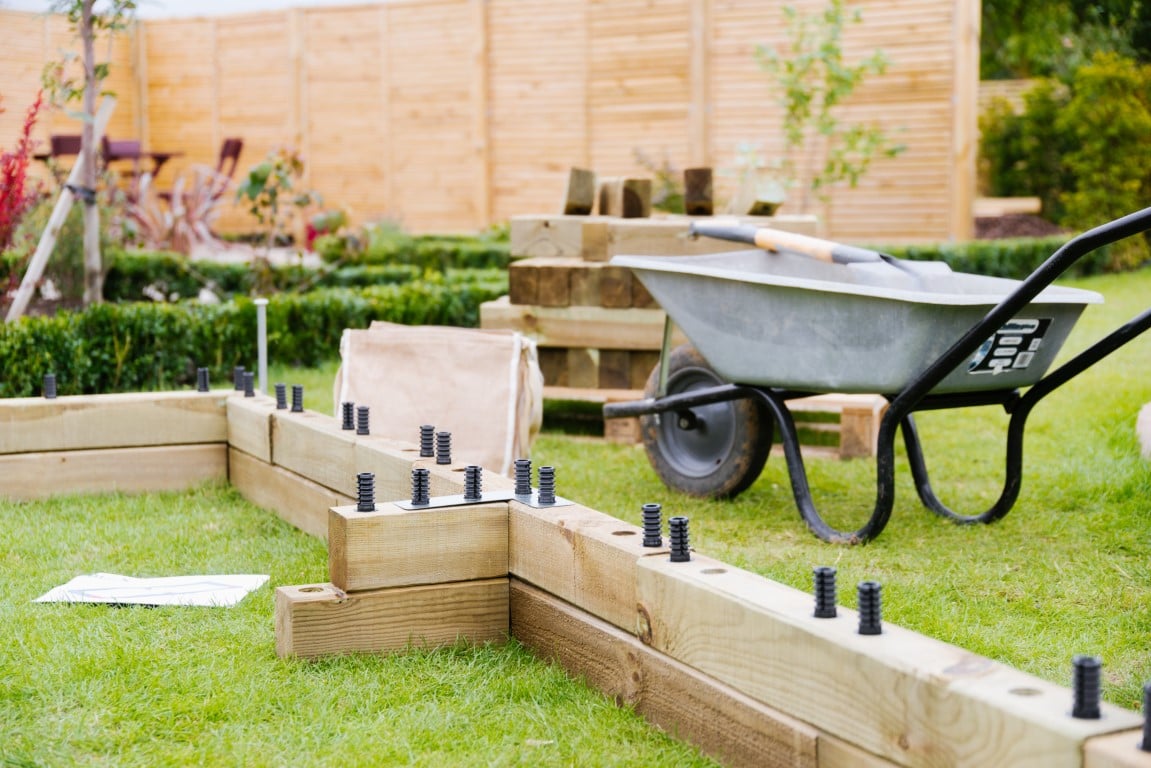
#2 - Use the step-by-step instructions (bespoke to your kit) to layout your first layer and add your dowels. If you are building on grass or soil you will need ground spikes, these will pin the structure into the ground and are to be used on the base layer.
Top tip! For the first layer, fix your dowels in place away from the flat surface to avoid losing your levelling, then put them back in place.
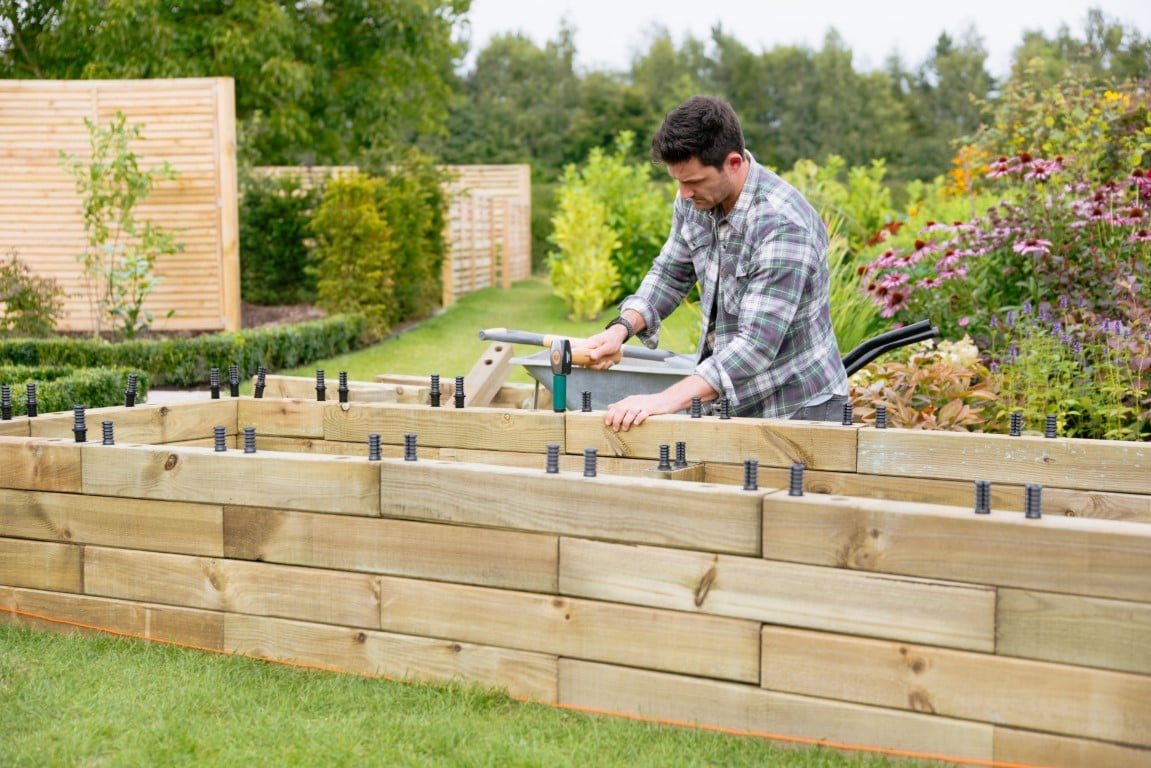
#3 - Start building your WoodBlocX structure upwards by slotting the individual blocks over the dowels from the previous, one layer at a time.
Once you have fixed together the first and second layers you will notice that the first and third are the same and the second and fourth layers are the same and so on (this block layout is what makes WoodBlocX structures incredibly strong).
#4 - Once you have built your raised bed up and you reach the last few layers it is the time to think about adding a liner.
If you don’t mind the liner being seen this can be trapped underneath the final layer of capping or on the penultimate layer of blocks so that you have one bare block above and then the finishing capping layer (stapling your liner on the inside is also an option). Full step-by-step fitting instructions can be viewed or downloaded here.
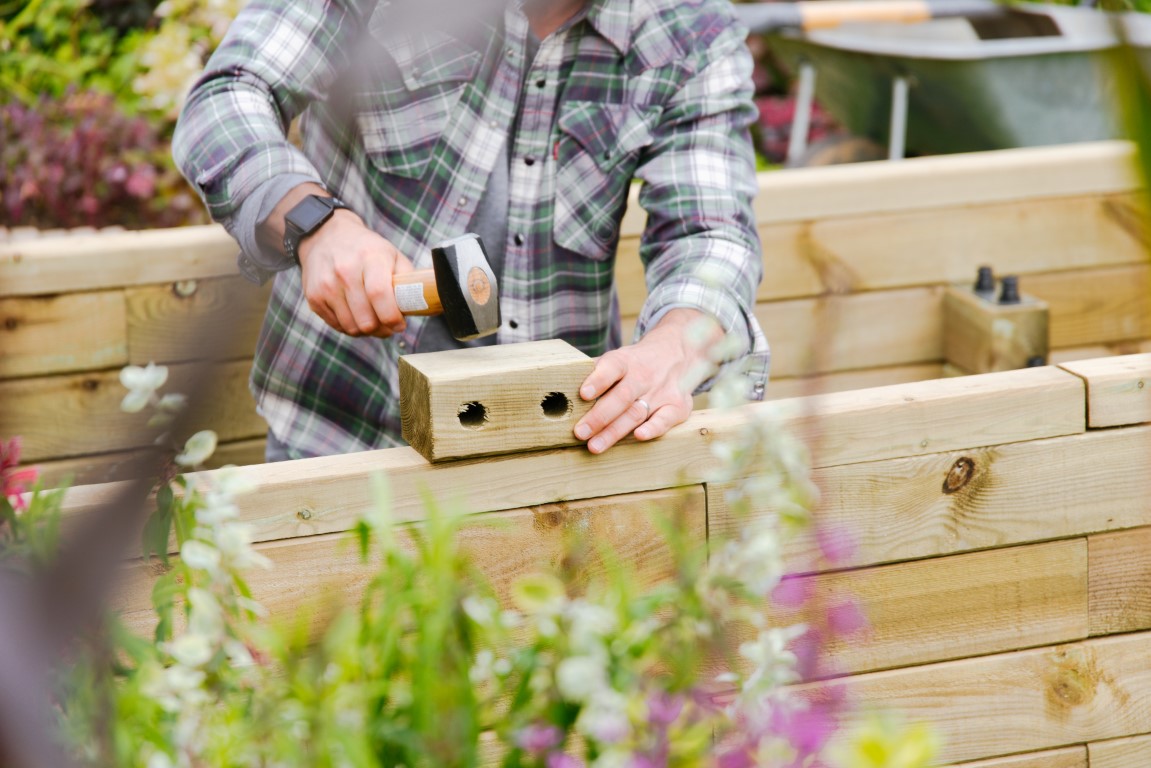
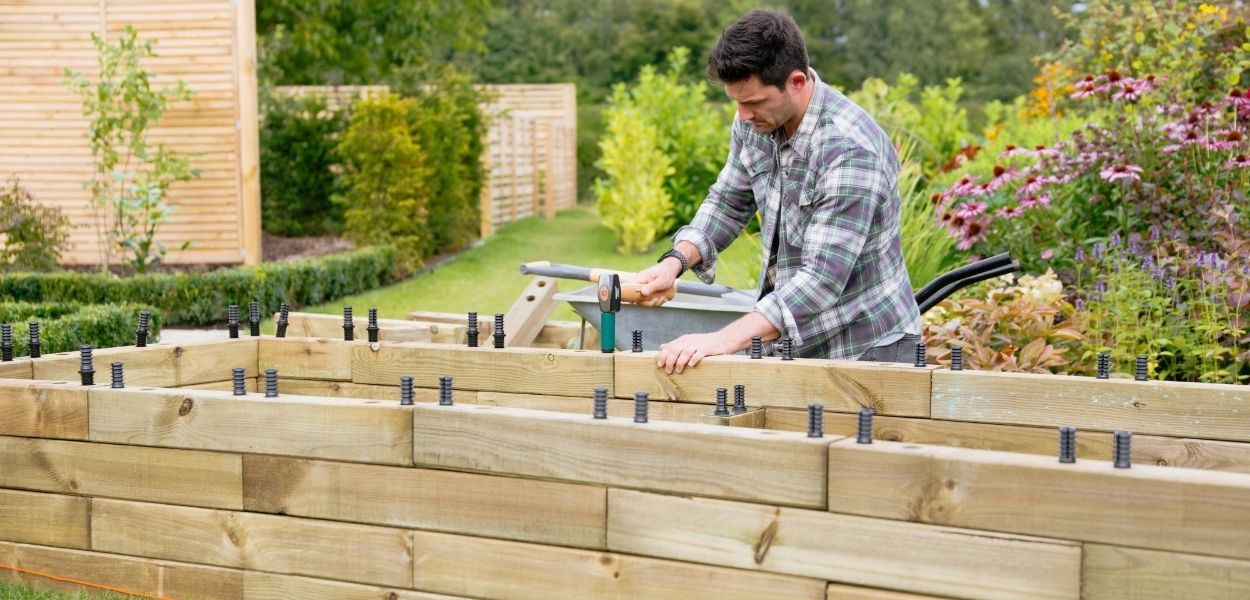
Top tip! Use a spare block of wood and a mallet to knock the capping in place, this will protect the wood from mallet marks.
#5 - When you are ready to add the capping, you will need to cut the dowels down by three notches, either using a hand saw or our handy dowel cutter. The capping then slots over the top, finishing your raised bed design.
#6 - Then it's time to fill your new WoodBlocX raised bed with soil and get growing!
With so many benefits to growing in raised beds, why not transform your garden, allotment or commercial space with WoodBlocX.
